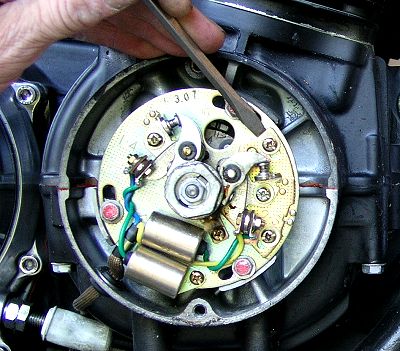
Once you have the timing
plate set as close as you can for jugs 1-4 tighten down the timing plate
screws, reconnect the two wires to the points, and use the same process
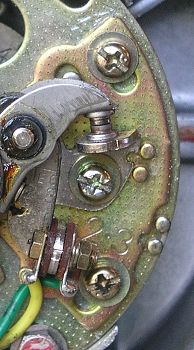
for the smaller timing adjustment plate for 2-3 points (image below).
 Again, the screws for the 2-3
timing plate should be lightly snug, not loose and not tight. Turn the
crank 180 degrees so the 2-3 F mark shows through the peephole and are
lined up.
 Tap the plate all the way down
(shown above) and then tap it back until the meter needle moves. Turn the
crank a little both ways to check. When it's as close as it will
get tighten the screws, re-connect the wires and you're ready to fire it
up and finish the timing. Oh, and if you took the plugs out to make turning
the crank easier now's a good time to put them back in. ;-)
This will only get you close
and seldom does static timing hit dead on. These bikes are almost if not
more than 30 years old, and as a result many have weakened springs on the
timing advance units. Often the timing will wind up a bit advanced even
at idle which can make for rough idling and hard starting, not to mention
sluggish take-offs from a stop. On to strobe timing... |

